What: I used an image-generation / image-editing workflow to remake a 35m² New York studio: from small tweaks (change the rug, swap a lamp) to full-style experiments (Japandi, Modern, Boho).
Why: To save time, test many styles quickly, and preview real products inside a real room before buying - so you don't gamble on a couch that doesn't fit the space or clash with the light.
Below I walk through the exact process we used, show what worked, and share practical tips so you can replicate this with SweetHome (or similar image-based AI tools). I'll also drop two data points from a quick internal test so you get a sense of how users respond.
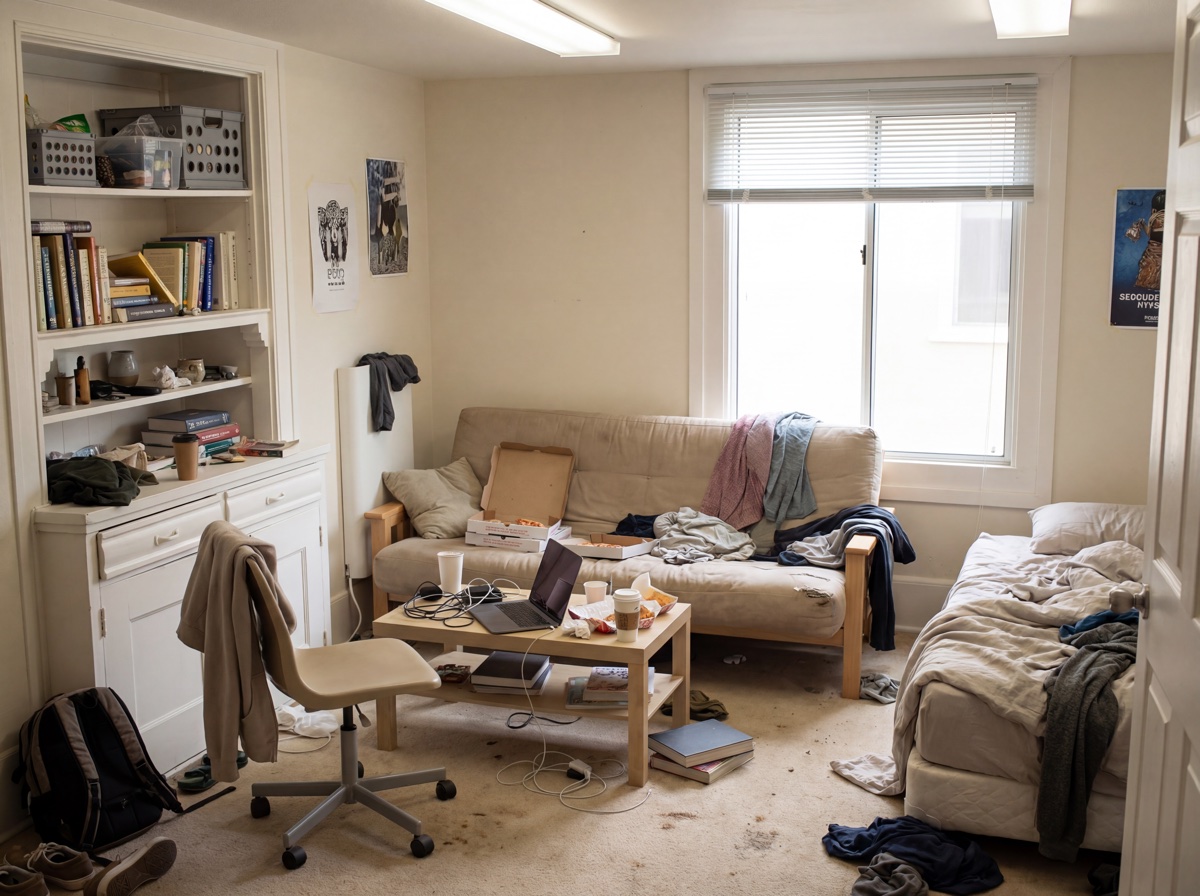
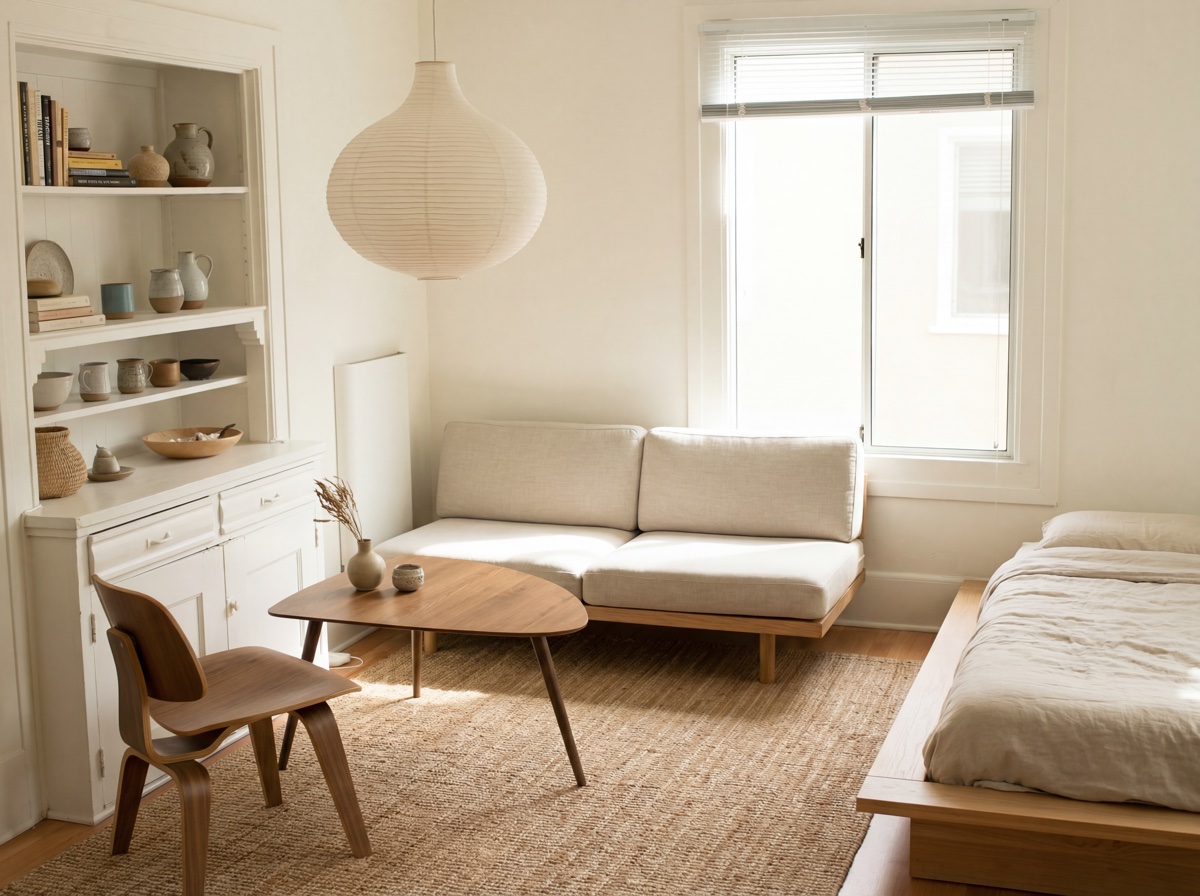
Before → After: The Setup
The studio was 35m², north-facing, with a cramped sofa area and an awkwardly placed bookshelf. I photographed the room from three angles (main view, corner that captures the kitchen, and a close-up of the sofa wall).
What I wanted to test:
- Can AI fix layout and make the room feel larger?
- Can I explore 5 different styles in a single afternoon?
- Can I insert real e-commerce product images (sofa, rug) to check fit and color?
Step-by-Step: How I Ran the Experiment
Upload clear room photos
I uploaded the three photos to SweetHome's project workspace.
Mask the areas you want to change (local edits)
For local changes - e.g., swap the rug, replace the lamp, move the bookshelf - I used the masking/inpainting feature:
- Mask the area (paint over the rug or the lamp).
- Prompt the AI with a specific request: "Replace rug with low-pile jute rug, neutral tones, slightly larger to define seating."
This lets the model change one portion while keeping the rest intact.
Generate multiple global style variations
For broader inspiration, I ran full-room style generations:
I repeated for Modern, Boho, Minimal, and Luxury. Each generation produced a coherent room with lighting and shadows preserved, so the images looked usable and realistic.
Swap in e-commerce images (product placement)
To check real product fit, I used the product overlay workflow:
- Upload the retailer image (white background sofa photo).
- Use the tool's "place in room" option, scale and position it over the masked sofa area.
- Run a short refinement prompt: "Integrate sofa with room lighting, add appropriate shadow and perspective."
Export assets and build a case page
I exported 2-3 winning variations per style, plus 1-2 product-placement mockups. Then I created a SweetHome case page with Before/After galleries, notes on changes, and a downloadable one-page shopping list linking to the product pages.
What We Learned (Real User Signals)
From a small internal user trial of 50 participants who reviewed the generated designs:
These numbers are from a controlled 50-sample test we ran to validate usability - your audience may shift by city, season, and inventory, but the pattern is consistent: visualized realism + real products = faster decisions.
Practical Tips to Get Realistic Results
Use good photos
- Natural light > artificial for generation quality.
- One full-room shot + one detail shot minimizes hallucination.
Be specific in prompts
Mask carefully for local edits
Paint a slightly larger mask than the object to give the model room to add realistic shadows/perspective.
Try multiple seeds / variations
Generate 5 variants per prompt, then pick the one that best balances realism and aesthetic.
Mind scale and perspective
When inserting e-commerce images, scale them to door height or sofa depth references. Many tools allow grid overlay for accurate scaling.
Preserve textures for realism
If the original photo has strong grain or texture (wood grain, concrete), ask the model to "preserve existing floor texture" so the insertions match.
Ready to Transform Your Space?
Try the same AI tools used in this case study. Upload your room photo and see the magic happen.
Start Designing Now